


For this week's project I have used yet another Graphics Fairy graphic. Who doesn't love the Graphics Fairy? This one is based on a garden wreath theme, and her graphic was only the frame and not the lettering. I decided to stay with the garden theme. I found this cabinet at the flea market. It was painted gray, sort of distressed and missing the innards like the shelf. The gray wasn't doing anything for me so I asked my husband to paint it white so I could sand it back and still have the gray undertone showing through. I picked out my graphic and then set out to figure out how to transfer my image onto the cabinet. There are so many transfer methods out there and I have never tried even one of them. I went to the Graphics Fairy's DIY section and there she enumerates several options. I settled on the wax paper transfer method that was clearly spelled out by Angela of Unexpected Elegance. I chose this method because it seemed the easiest and I already had everything on hand that I needed. She really gave good directions so I will just enumerate a few things here based on my experience. I wet down the side of my cabinet because Angela got a little darker result when she dampened the board she transferred her image onto. I guess I wet my cabinet down too much because all I got was a runny mess. It was easily wiped away and I started over. Read on and I will explain further what I mean.

The following is a photo of the cabinet painted just plain white.

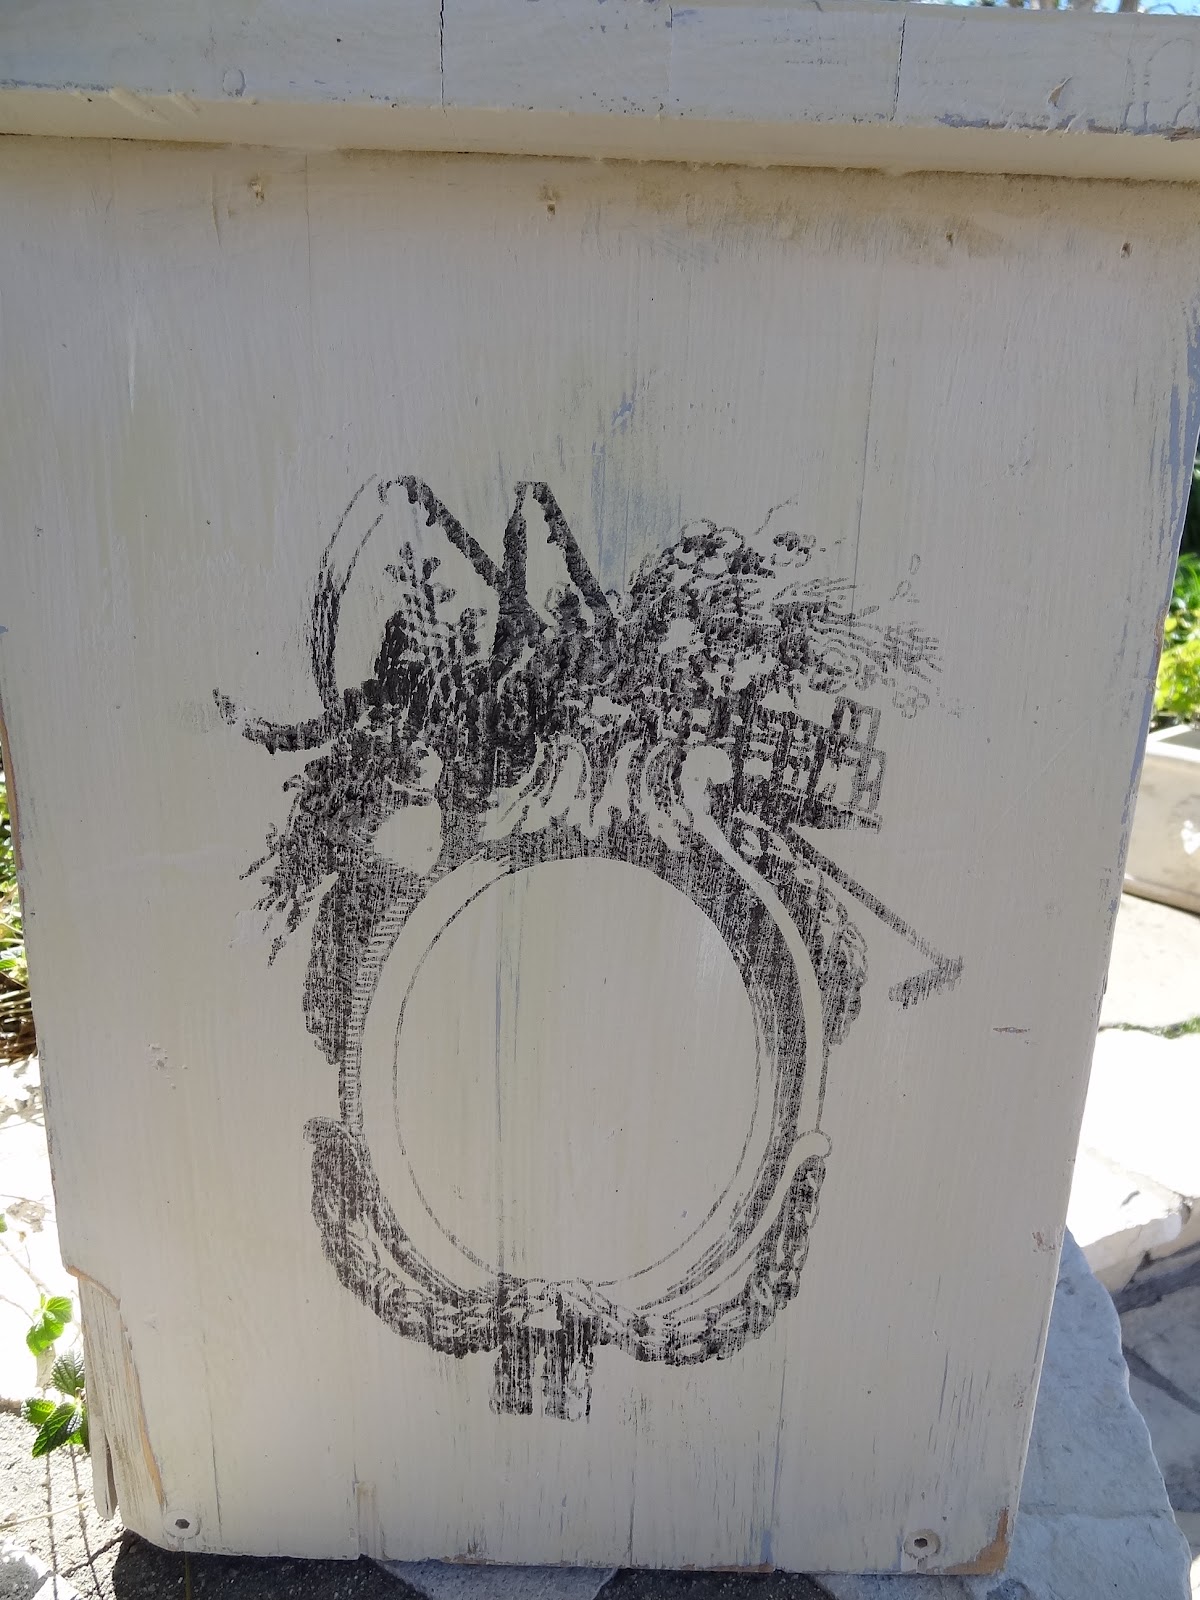
The following photo is transferring the image straight onto the dry cabinet. I used a credit card just like Angela did and was amazed at the detail I got from the wax paper. I was able to use my ink jet printer for this and as far as I can tell, no damage was done to the printer from the wax paper. Many transfer methods don't work with an ink jet printer and that is the only printer I have that is also a copier where I can enlarge and decrease the image size.

It's hard to tell from the photos but this side is the side I had dampened. By the time I got back to this side the wood was still damp but not overly so. The image did transfer a little bit darker but not appreciably darker so for me it didn't seem to matter if my wood was damp or not. Angela's piece was plain woode and not painted.
I did fit the graphic to my cabinet by first enlarging it on my computer and then enlarging it even further with my printer setting to make it as big as I could and yet still fit on an 8 1/2 X 11 sheet of paper. I used a small stencil I purchased at the craft store. Nothing fancy about the stencil and it was around $2.50. This is a great stencil for working in small spaces. I think the letters are around 3/4 of an inch high.

Next I took my painter's tape and marked out lines to make a box to surround the wreath. I also did not like all the white on the cabinet when the graphic was so dark so I also painted the edge of the top in the black. To dull it down so it didn't look like new black, I sanded it and wiped the words down to fade them out even more. They were about 75 percent dry so the black wiped away nicely and left me a faded image. Now I never did any wiping on the waxed image. I left that alone except that I wanted to seal it so it would not rub off so I used Valspar clear spray in the flat finish. It did seal the waxed surface so now it will not rub off.

This was going to be a two-part posting because I did another experiment today and although I love the way the cabinet turned out, I need to work on this next part some more. The inside of the cabinet was nothing to write home about. This is a newer cabinet that was probably made in China and the hardware for the doors was pretty unattractive and I wanted to camoulflage the inside. I used what is called a reverse stencil. I laid it on the glass on the inside of the glass door, and I did not get a good contact with the glass. The stencil has little holes in it so I think you could tack it to a piece of wood, but for the glass all I could do was lay it down. I sprayed the inside of the cabinet doors with frosted glass spray and where the stencil was it just left the clear glass. I think I will try another project with contact paper so I get a sharper image next time, but over all I am happy with the results. This added another dimension to the cabinet and at the same time concealed the mechanics of the door hinges. In case you are wondering how strong this frosted glass spray really is, I goofed and one of the doors had the image going the wrong way. I scraped it off with a razor blade and it took some elbow grease to get the frosting off. Windex alone would not have done it.

Thanks for visiting my blog. Have a wonderful week.


22 comments:
Oh what a great makeover, I have not heard of the wax paper transfer, I have got to go back and look, I saw the list. You are right there is not many transfers that work with inkjet printers. The frosted glass is genius!! I think you nailed it, no one would ever know it was a new piece
Carol
You really have a lot of creative talent as well as patience. I don't know if I would have continued or not ~ :-) It looks wonderful and you did such a good job on it.
Thanks for sharing about the wax paper transfer ~ I'll have to go take a look.
xo
Pat
Hey Maggie,
This cabinet is suuuuper cute! I have never heard of the wax paper transfer before. I have a dresser I'm going to be making over and I'm going to have to look into this. The whole look is really lovely. Great job!
I'm visiting from the newbie party and am your newest follower. I'd love for you to stop by my blog and check out some of my projects and (if you'd like!) follow me too.
Have a great week,
Sarah
This looks great! I love the frosted windows! I would love to see if full of flowers! So very beautiful!
So both you and I are no longer transfer virgins this week. Now I'm wondering what the difference is between using the wax paper method and just the regular paper that I used. Same result. I'll have to go read about the wax paper one. I want to try a few other of the processes the Graphics Fairy has listed.
~Bliss~
What a terrific transformation. It's absolutely lovely!
I'm your newest follower and hope you have a chance to check out my blog.
Mary Alice
What a beautiful cabinet! I've never tried a transfer method, now after seeing your gorgeous project, I think I am getting brave enough to try! Thanks for sharing:)
Just beautiful, and love how you created the transfer. I'm going to have to try this!
Beth
http://alyssabeth1.blogspot.com/
awesome piece.
Love the designs you chose.
blessings
barbara jean
turned out beautiful thanks for sharing the transfer message.
You did a fantastic job with this piece! Your newest follower~Angie
This piece is adorable...Blessings, Becky
Very pretty! I love the graphics on the side and what you did to the doors!
visiting from WUW : )
Lovely work! I haven't used wax paper, but have achieved the same effect with transparency paper. It's a miracle!
Beautiful! I'm pinning this! Little Bit from DecorateWithaLittleBit.com
I love your work, this cabinet is lovely. I have been wanting to try some transfer work on my furniture as well. Yours turned out beautiful
p.s. I'm also 'liking' you on facebook to follow along, you can find me on facebook too. DecorateWithaLittleBit.com
that is gorgeous!!!!!
I love it, I want to try this!
I just found you via Miss Mustard Seeds party... I love love love this cabinet! I am your newest Linky Follower :) Please come check out my blog and follow if you like...
Blessings,
Diana ~ Anyone Can Decorate
What a transformation!!! Your creative use of the graphic design and the etched window process made the plain Jane piece a show stopper!
Well back in the days of 50 follower milestones I must of missed that cute little makeover. Thanks for linking it up.
Bliss
Post a Comment